-
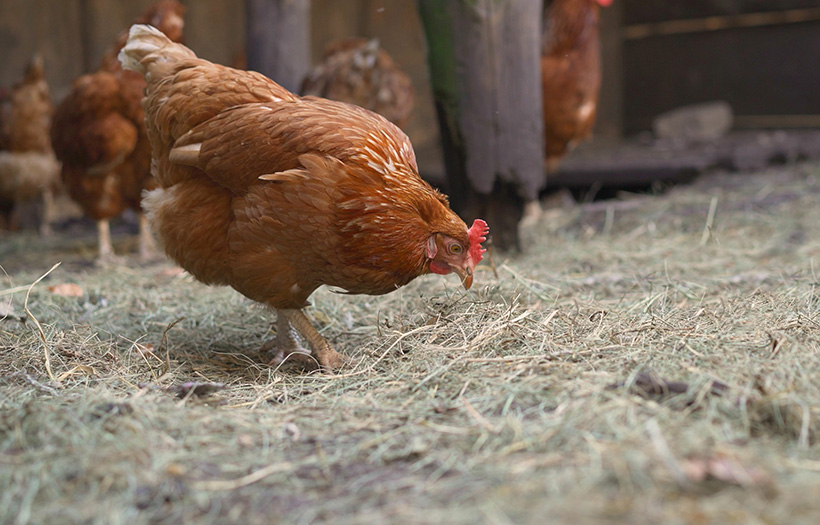
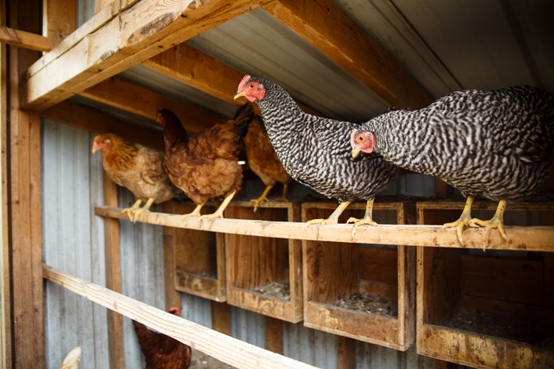
How to Choose the Best Bedding for Your Chickens
There are many bedding options for your birds. Which one is best? ...
-
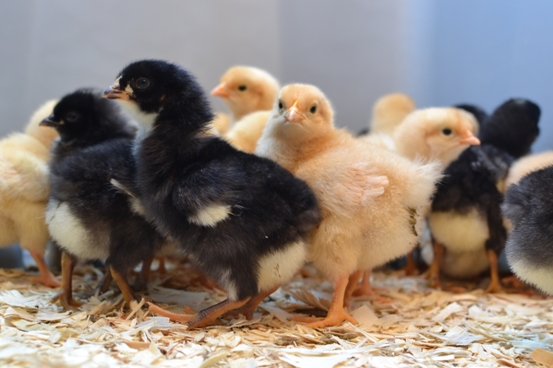
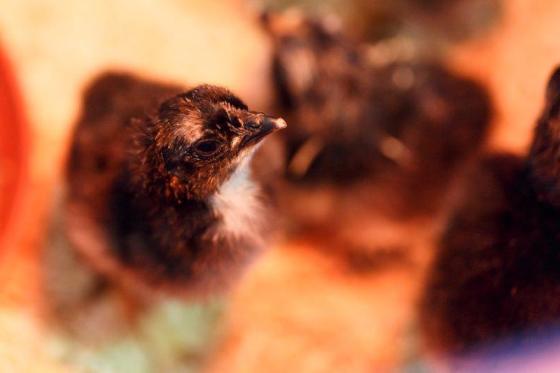
Optimizing Your Chick Care: A Comprehensive Guide to Success
Learn a few basic tips to help your new chicks thrive. ...
-
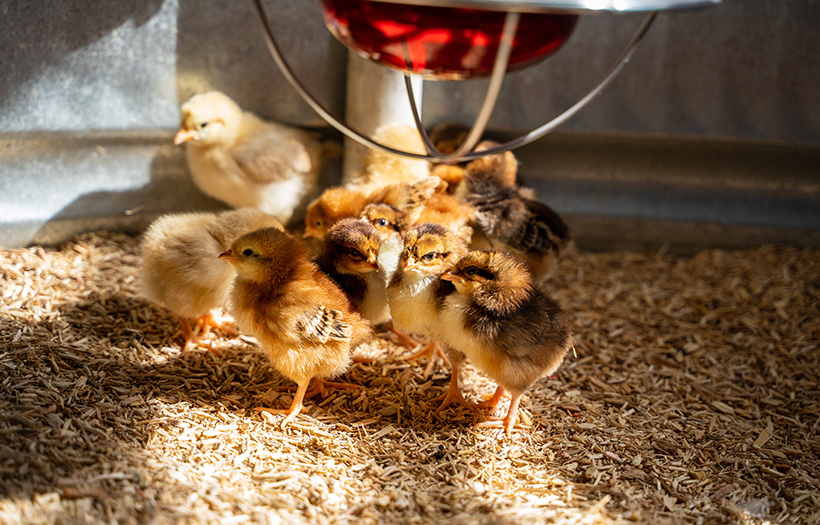
Getting the Brooder Ready for Baby Chicks
Learn what the most important components of a brooder are for raising baby chicks....
-
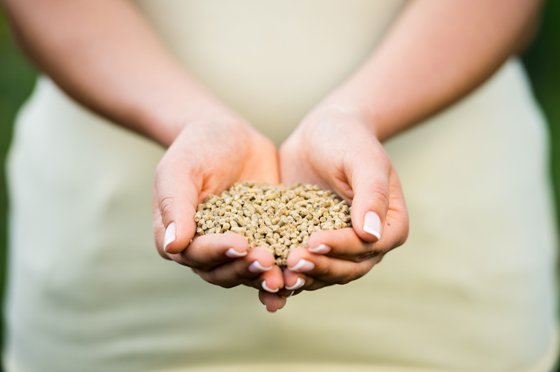
New Bits: Better for your birds and your bottom line
Can feed form improve your flocks feeding experience? Good nutrition contributes to a healthier flock, exceptional eggs, vibrant plumage, and happier birds. At Nutrena, we believe nutrition is key for...
-
NatureWise Nourishing: Cooking Up a Special Feed
Can the way poultry feed is made enhance nutrient absorption? At Nutrena, what’s inside counts. And the way the feed is cooked counts, too. For over 100 years, Nutrena has been continually innovatin...
-
NatureWise Nourishing: Pound for Pound an Exceptional Value
What makes a poultry feed a good value? What does good value in a feed mean to you? Is it a fair price? Quality ingredients? Less waste? NatureWise Nourishing was formulated with these things in mind....
-
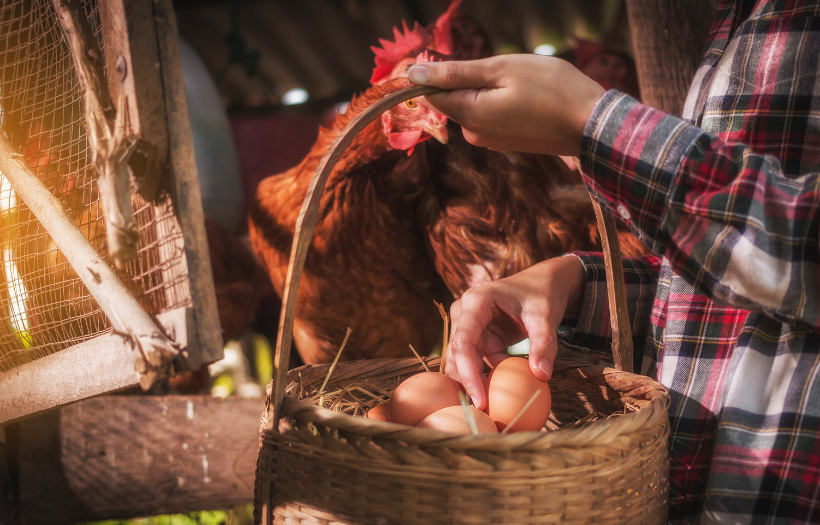
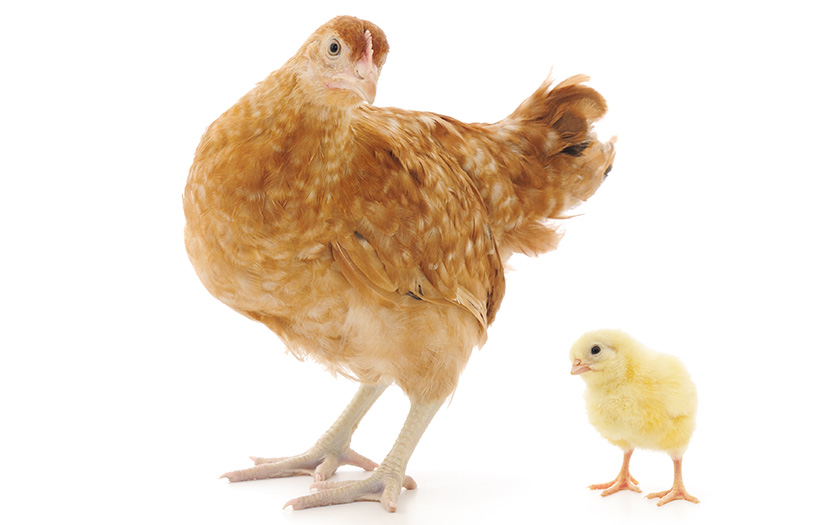
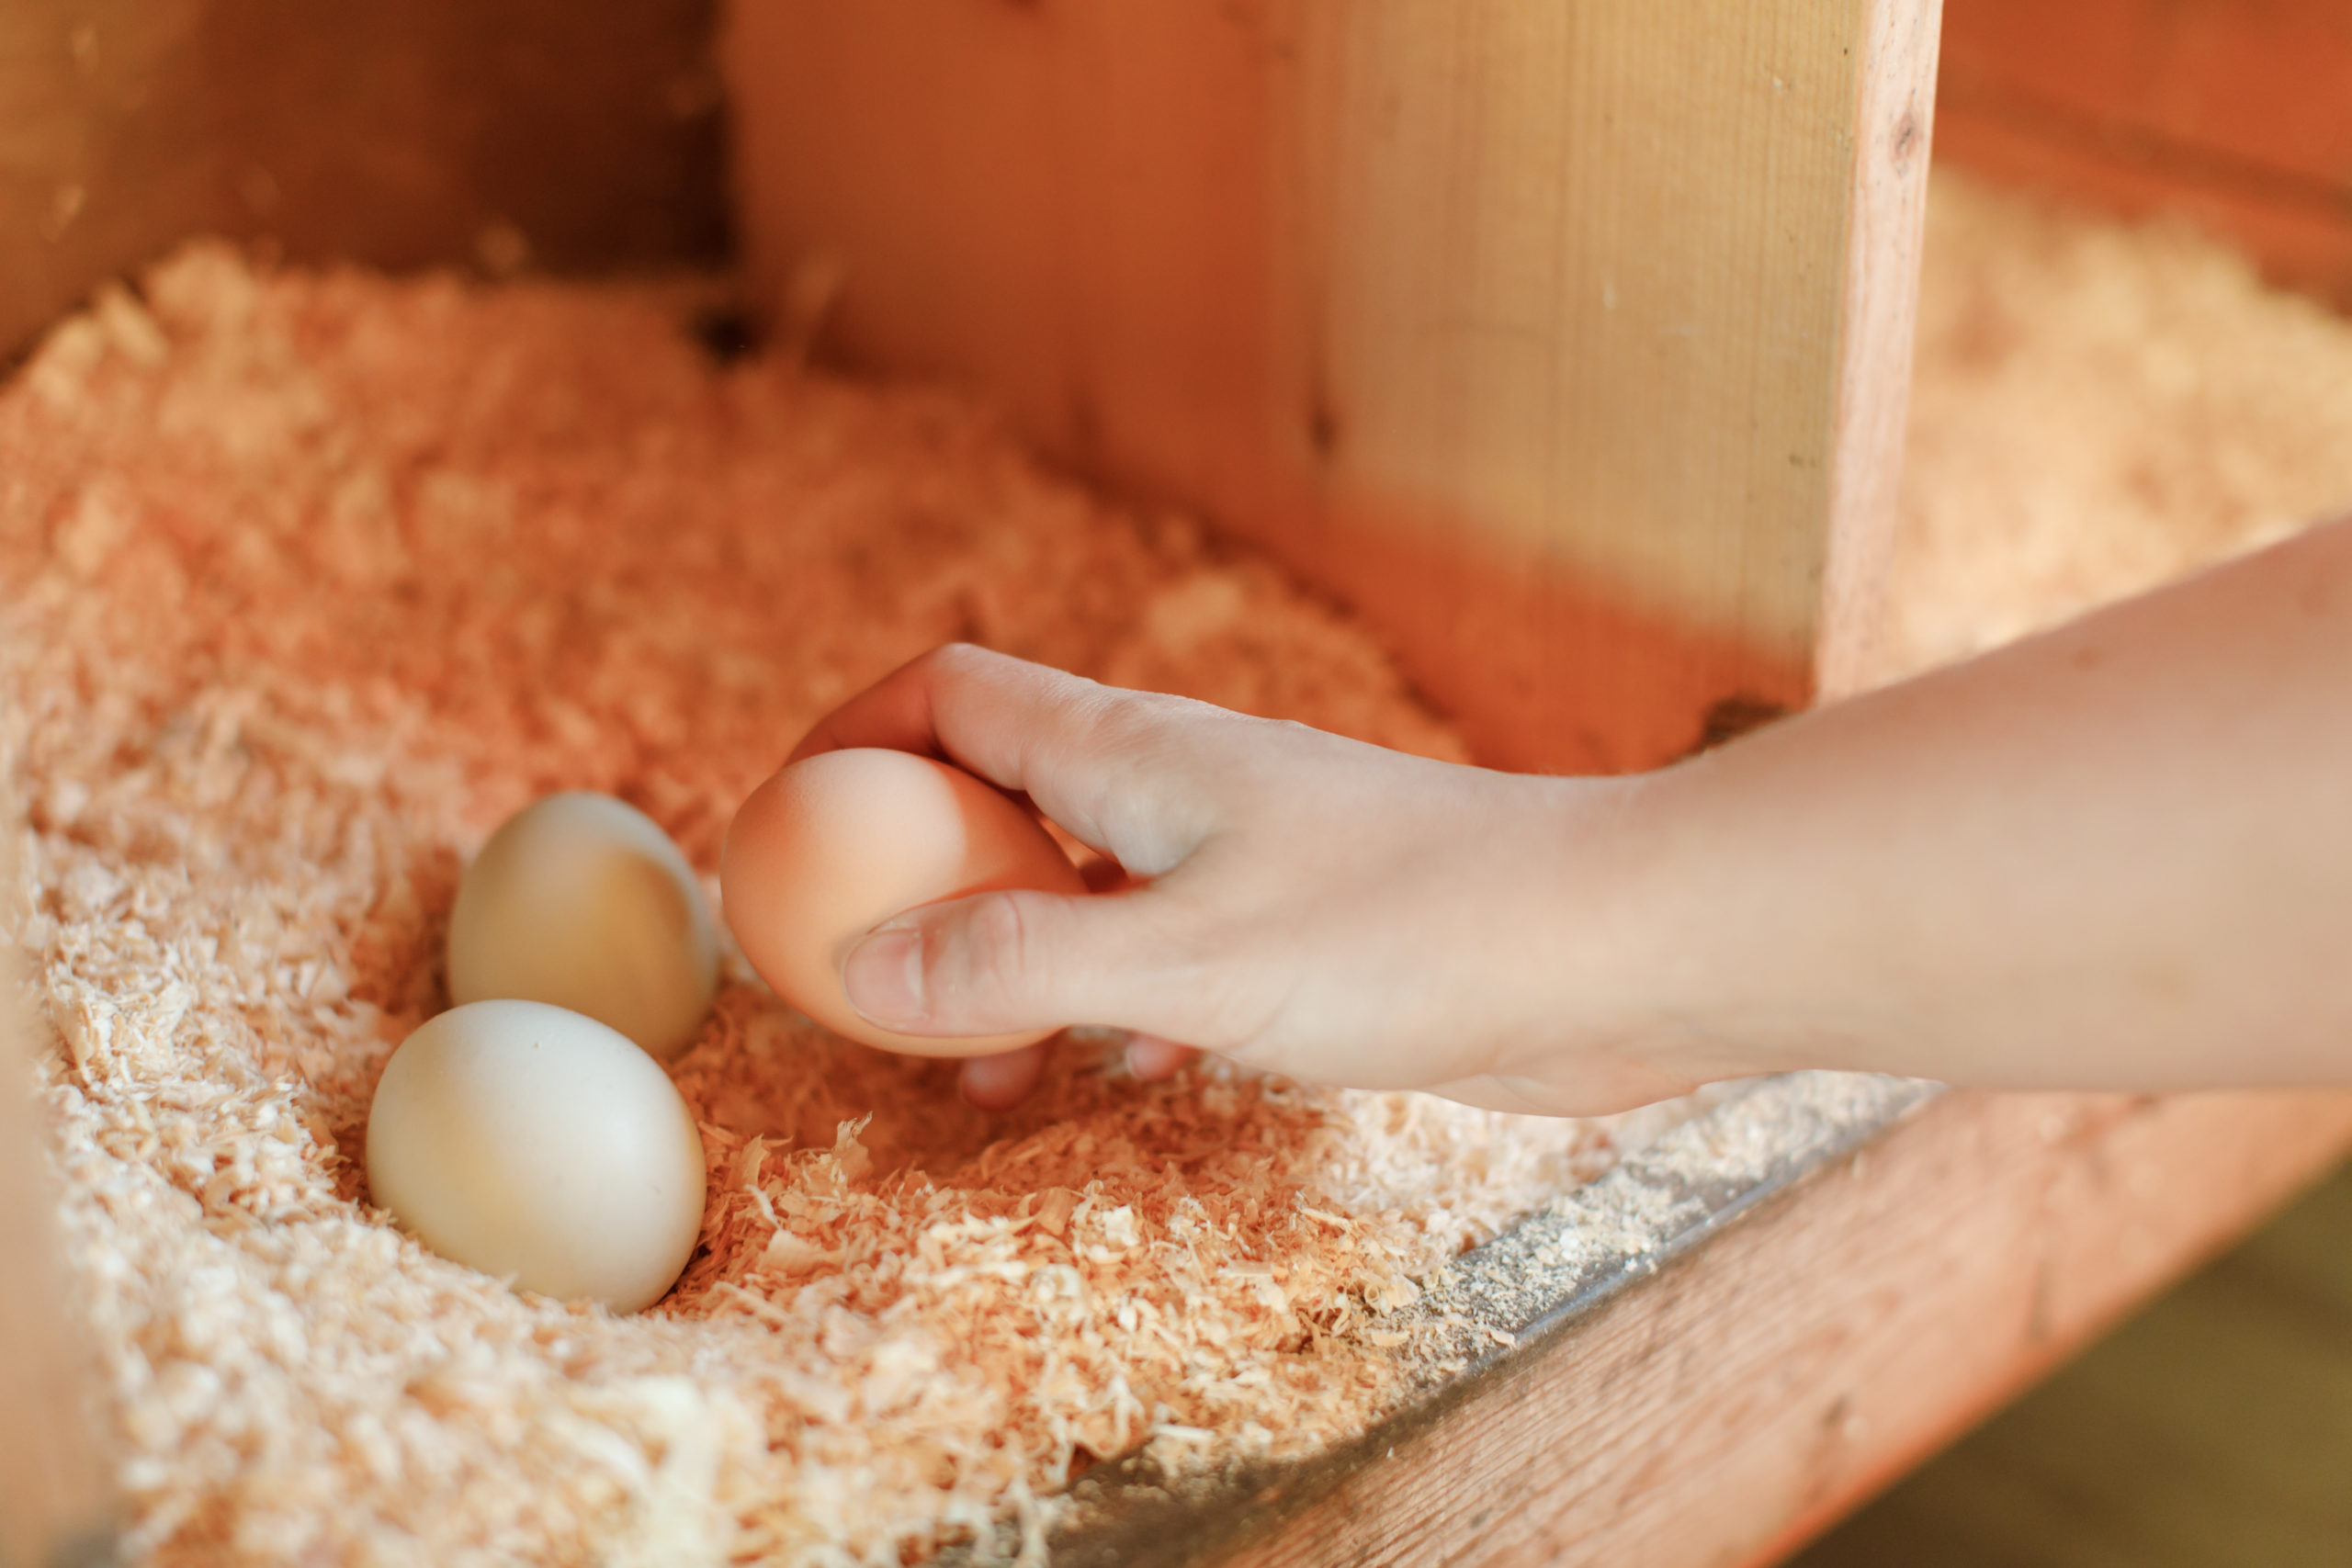
When Pullets Start To Lay Eggs
Summer has arrived and your spring chicks will be approaching puberty. Assuming they've enjoyed good food and care, the young hens, called pullets, begin laying sometime between their 16th and 24th we...
-
Winter Lighting In The Chicken Coop
Read these handy tips for winterizing your coop, and keeping the girls occupied during the long winter months....
-
The Molting Process
Wonder why a chicken molts? And is there anything you can do to help speed the process? Yes, there is!...
-
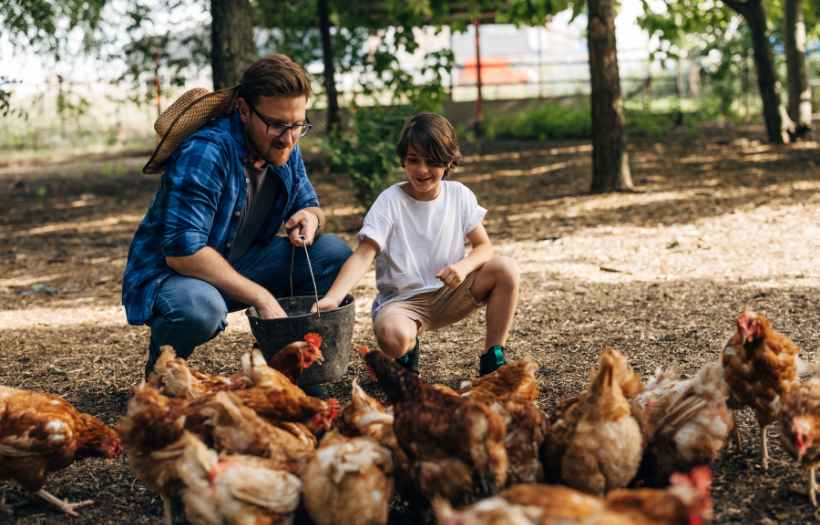
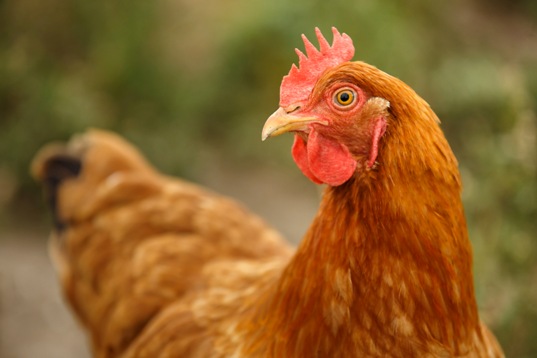
Care Tips For Healthy Hens
Learn the important factors involved in keeping your hens healthy and happy!...
-
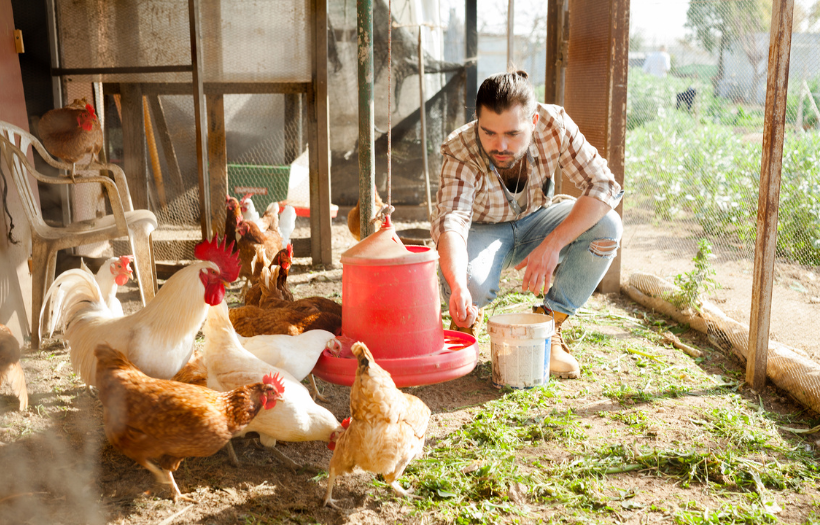
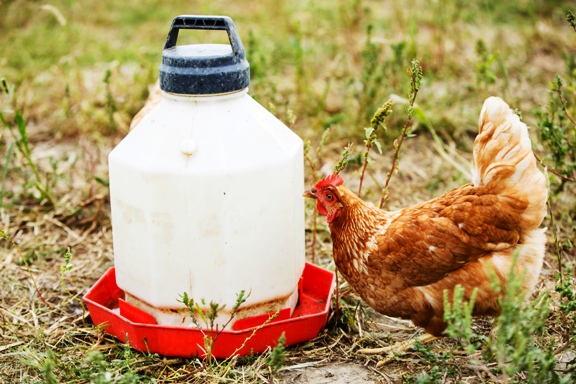
How Much Does A Chicken Eat
Wondering how much feed to buy at a time for your flock? Here are estimates that will make feed-buying a snap....
-
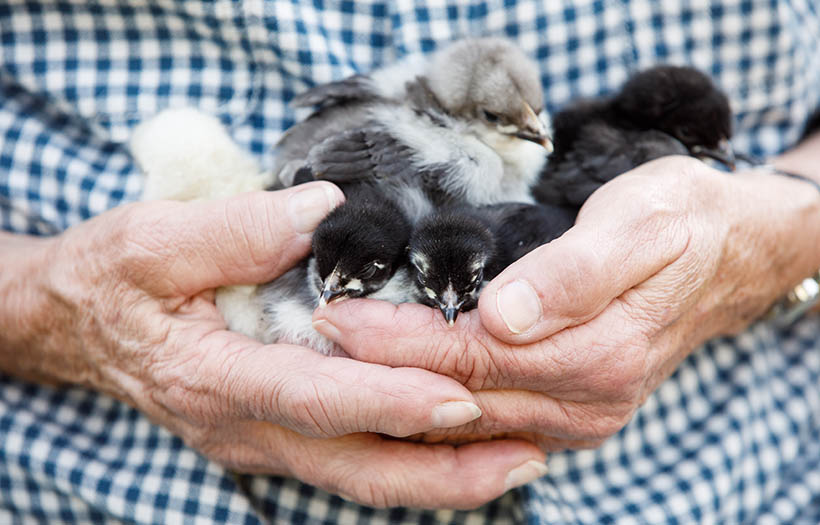
Raising Baby Chicks 101
So, how does a person with no chicken experience learn how to start and care for a backyard flock? It is really not difficult, and in many ways caring for chickens is similar to tending a family pet....
-
Heat Lamps For Chicks
Learn how to properly warm up the brooder and tell if your chicks are too warm or too cold....
-
Making the Switch: Chick Feed to Layer Ration
It is always a big event when your chickens start to lay! You and your birds put so much hard work and dedication into that moment, and the feed you give your birds is an important part of that first ...
-
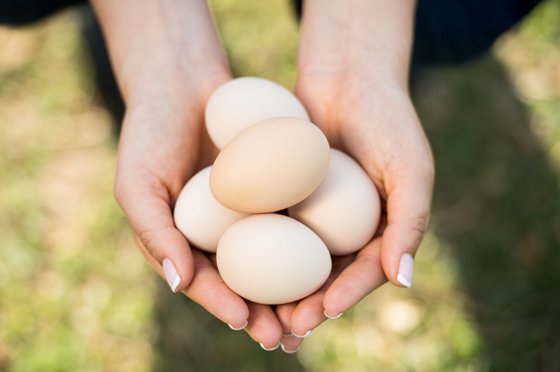
Eggscellent Layers!
You love getting tasty eggs from your hens, so how can you keep them healthy, happy, and laying?......
-
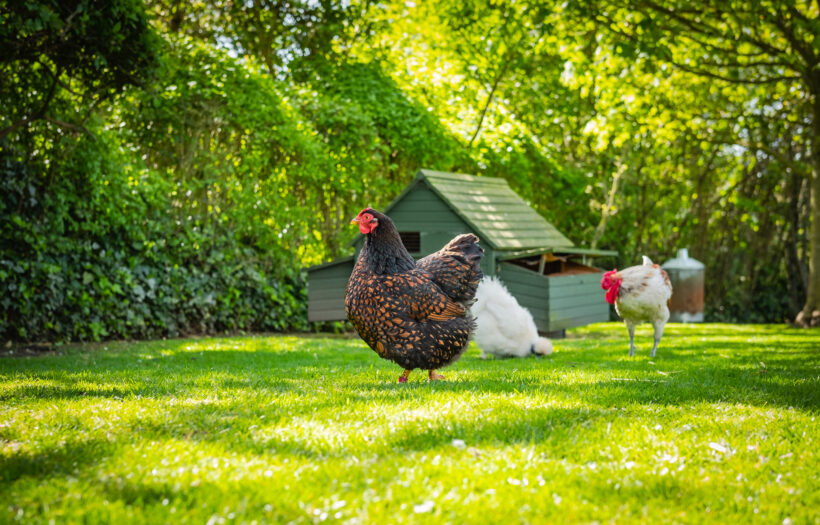
What To Know Before Building Your Own Chicken Coop
Are you looking to build a coop for your first flock of backyard chickens? This article has everything you need......
