What To Know Before Building Your Own Chicken Coop

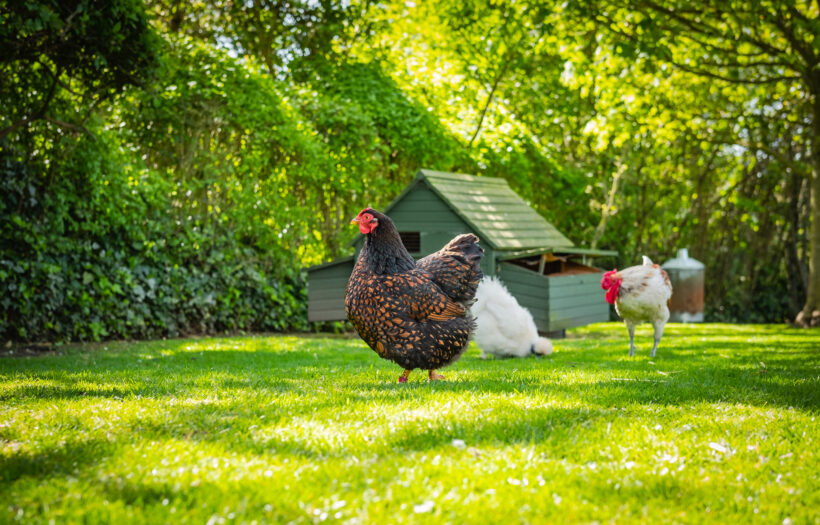
backyard chicken on grass

Are you looking to build a coop for your first flock of backyard chickens? This article has everything you need to know about building a safe coop for a happy flock.

The perfect chicken coop protects your birds from heat, cold, weather, predators, and diseases, while also being comfortable for them and accessible for you.

I’ve had chickens in my backyard for decades, and in that time, we’ve gone through at least three chicken coops. Every time we build, there are new lessons to be learned, but the fundamental principles always stay the same. The perfect chicken coop is big enough to house the whole flock, sturdy enough to withstand the worst weather, and safe enough to keep out the most determined predators. Perhaps most importantly, it is easy for you, the owner, to clean, maintain, and keep in the best possible shape. This keeps your hens safe and healthy as long as possible. In this article, we’ll break down the things you need to know before building such a perfect coop.

  1. Choose a plan that meets all your needs. There is no one-size-fits-all perfect chicken coop plan or design that will work for every flock owner, but there are a number of universal concerns everyone should consider before picking a coop plan. One of the big ones is capacity: How many and what kind of chickens is the coop able to safely hold? How much space your birds will need will depend on a number of factors. Free-ranging birds or birds with a run will need significantly less space than birds that will be confined all day; roosters generally need a bit more space than hens; and bantam breeds can usually get by with less floor space but need more vertical space. Your personal accessibility needs – how well you can get into the coop to clean and collect eggs – is another major concern people often overlook.
  2. Pick a location that will keep your girls safe and cool. As with plans, there is no hard and fast rule about what makes the perfect location, only a series of concerns to balance against your own needs and preferences. Shade is a big one; placing the coop out of direct sunlight can help keep your flock from overheating. However, building your coop directly under the trees can run afoul of another concern, which is accessibility to predators. Hawks will see a flock that lives directly under a sturdy tree as easy prey, and ground-based predators will more easily access your coop if it is surrounded by good hiding places. Finally, human accessibility is key. Building a chicken coop can take anywhere from a weekend to about two weeks, and maintaining a flock in one more than five years. Consider how far you want to schlep building materials, tools, chicken feed, and eggs to and from the coop. As you may be doing this every day for half a decade, reconsider before picking the spot furthest away from the house.
  3. Add enough ventilation for all seasons. It’s hard to think of a few wall vents as a lifesaving design feature, but for a chicken coop, having proper ventilation is absolutely crucial. In fact, it’s one of the best things you can do to keep your girls safe and healthy. A well-ventilated coop will bring in lots of clean air, which will help stop potentially fatal respiratory diseases like Newcastle and bird flu from spreading in your flock. In addition, ventilation will help keep your birds cool in hot weather. Even though modern-day chickens are descended from tropical junglefowl, they are much more susceptible to overheating than freezing. However, both heat waves and cold snaps can be dangerous to chickens. The solution is to have a lot of vents at all heights throughout the coop, which will blow cooling drafts over your birds on hot days, but to have those vents be closeable. In the winter, closing all but two vents at the very top of the coop (above the roosts) will help keep your flock both warm and disease-free.   
  4. Use hardware mesh to keep out predators. When it comes to keeping predators out of the coop, hardware mesh (also called hardware cloth) really can’t be beat. Its small holes (much smaller than those in chicken wire) keep out all manner of ground-based predators, and you can’t use too much of the stuff. Use it to reinforce your walls, your floor, your outer fence, and then bury some more at least six inches into the ground around your perimeter. The one place chicken wire is a better choice is for the upper parts of the run fencing, to keep chickens in and other birds out.   
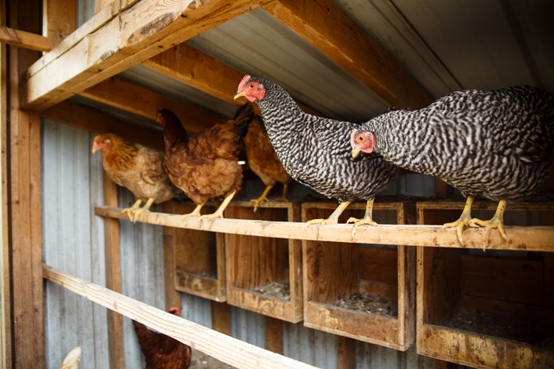
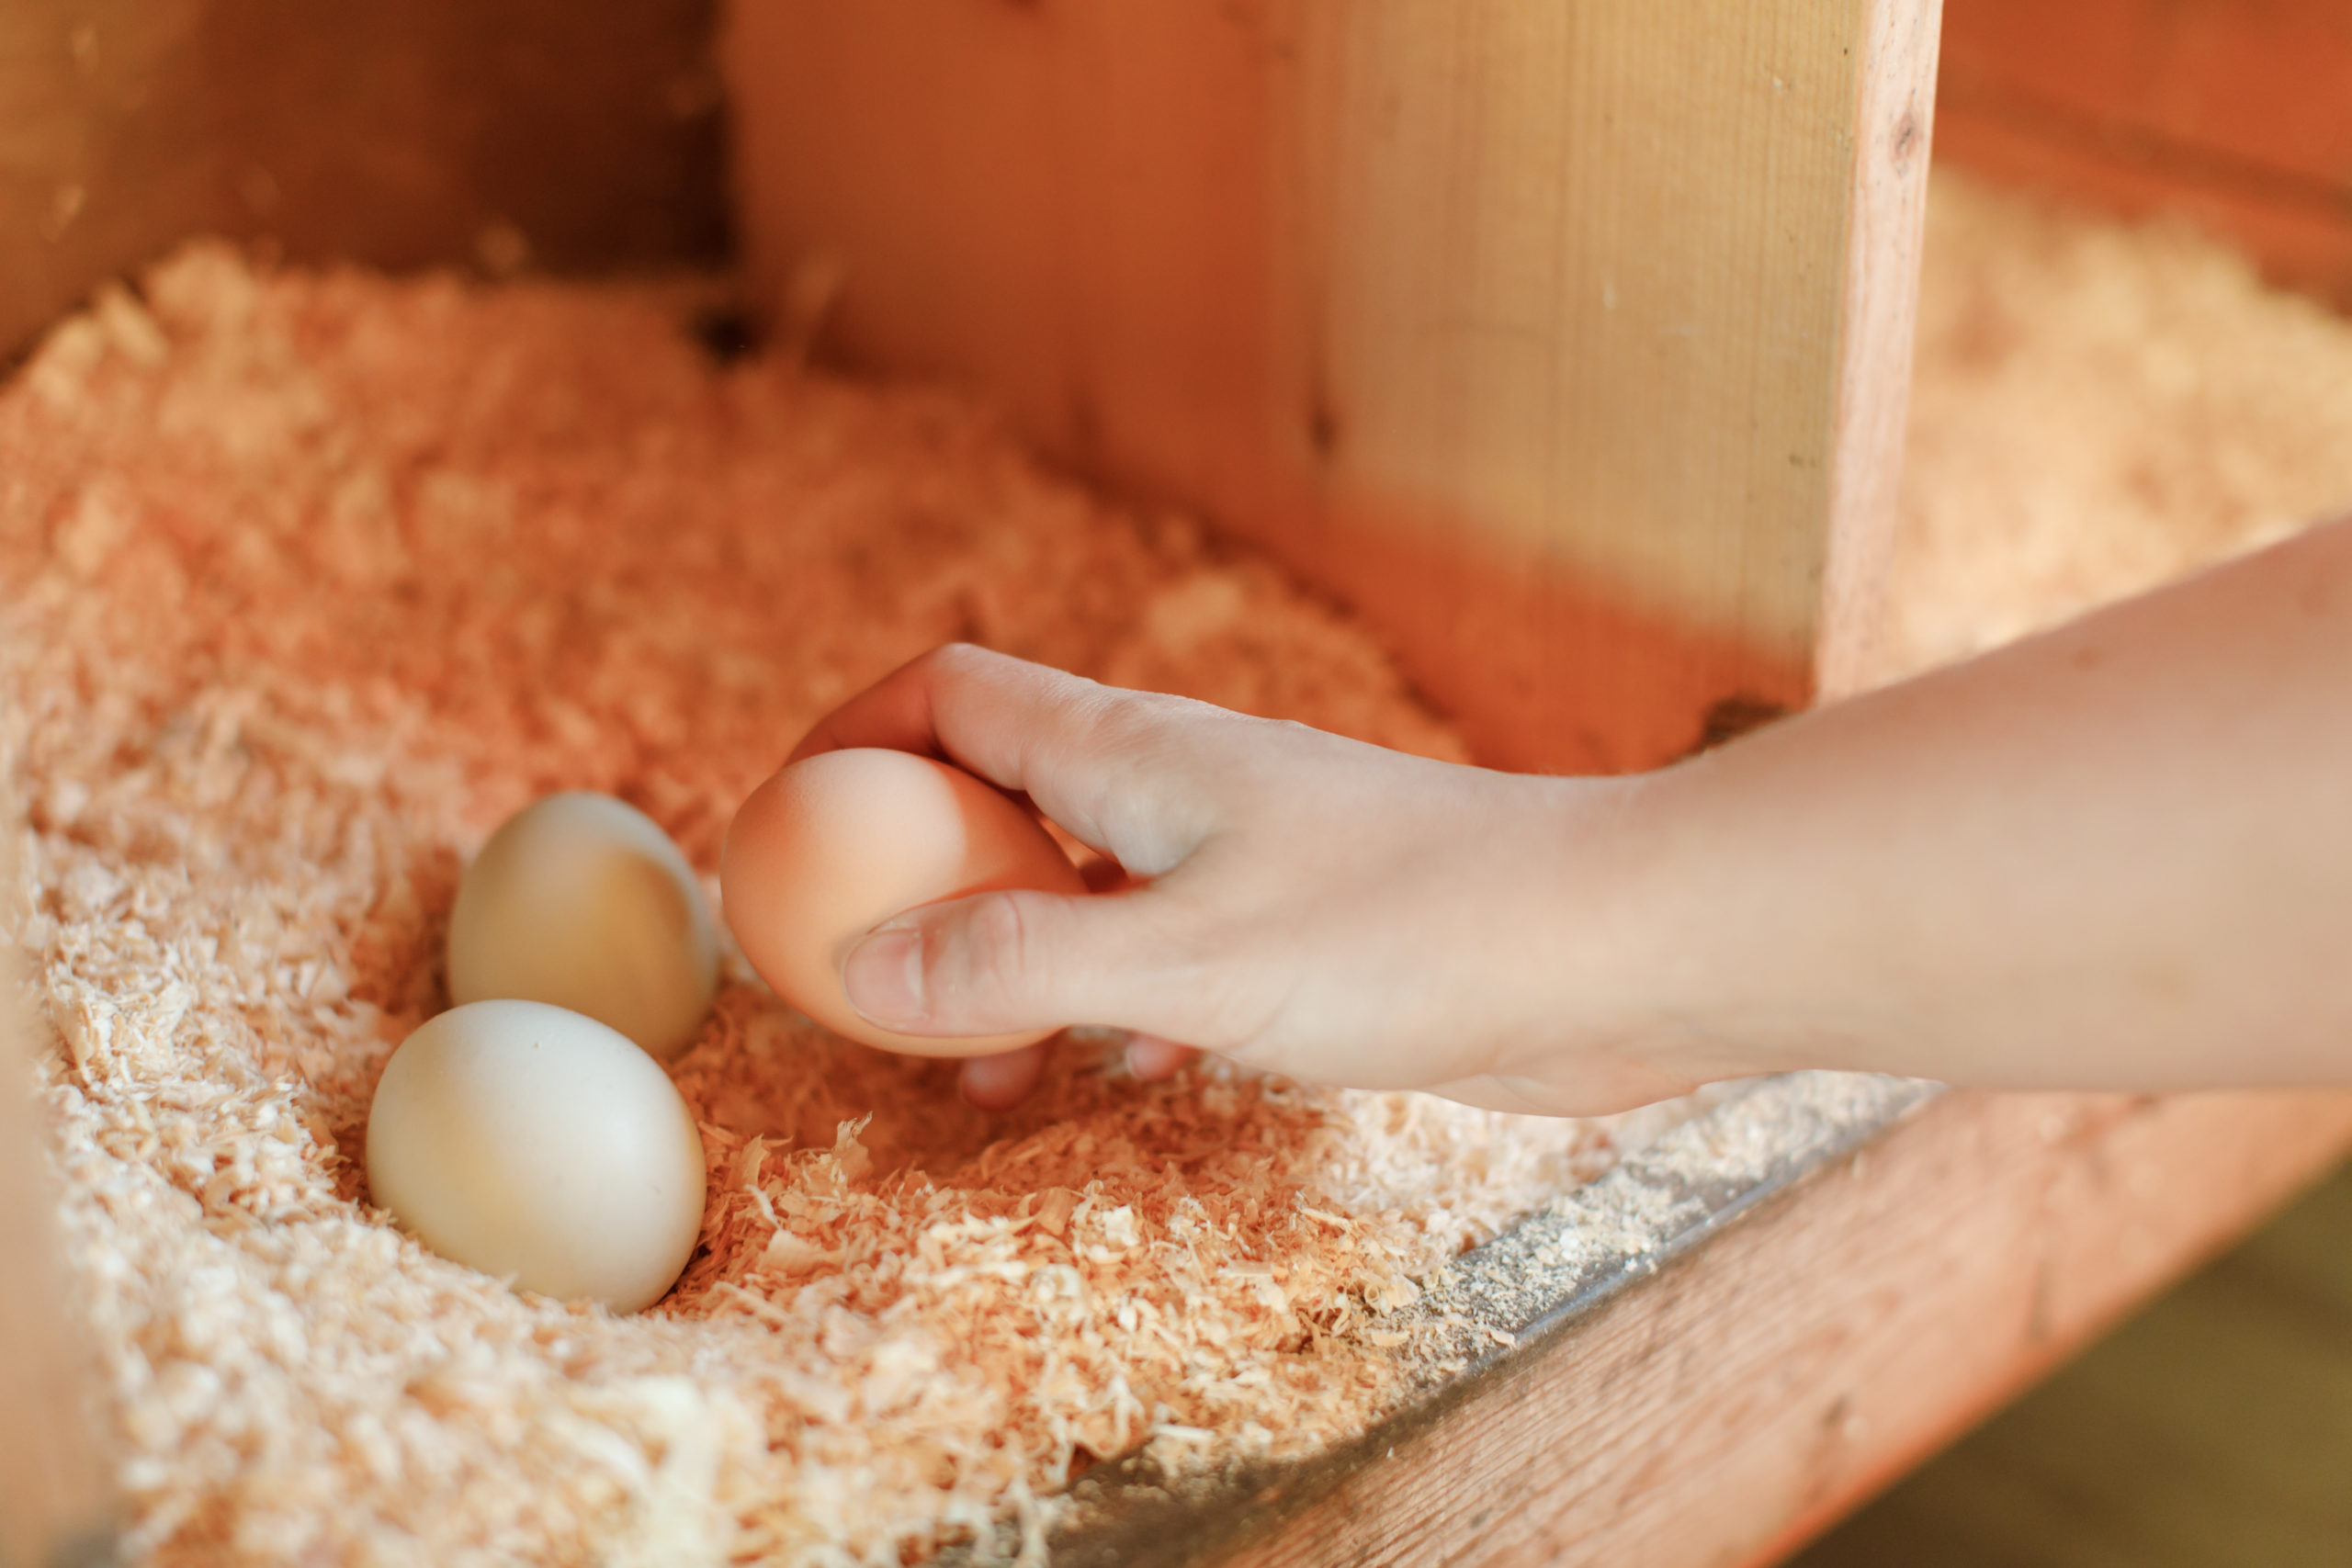
  5. Customize your nesting boxes and roosts for maximum safety and comfort. Nesting boxes (for egg-laying) and roosts (for sleeping) are the two parts of the coop your hens will use most often. They aren’t fussed about what they look like, as long as your nesting boxes are filled with something soft (like wood shavings or straw) and your roosts are the highest available sitting place in the coop. Have 10 inches of space per bird in your roosts, and one nesting box for every three hens, plus one more than you need for if a hen goes broody or picks a favorite box.

Building your own chicken coop can seem daunting, but it doesn’t have to be. There are only a few crucial elements to keep in mind when building that, if planned for correctly, will result in a sturdy coop and a safe, happy, healthy, productive flock.


Building a Chicken Coop: If You Build It, They Will Come

Building a chicken coopOne of the most rewarding ways of creating perfect housing for a small flock of backyard chickens is building a chicken coop from scratch.

Anyone with even modest carpentry experience will find coop construction a pleasant and rewarding challenge.

Coops can be purchased readymade or are easily assembled from kits.

DESIGNING OR CHOOSING COOP PLANS

People skilled at planning a project can create their own coop plans, but for most folks working from existing plans makes the project simpler. Dozens of free plans are posted on websites, and many poultry books include chapters on coop building. They usually have plans for a few coop styles.

When designing a chicken coop or choosing an existing plan make sure the finished coop will be large enough to comfortably house the number of hens planned for the backyard.

It should have at least four-square feet of floor space per bird, screening to exclude insects and heavy wiring to repel predators, and easy access to fill feeders and waterers, and retrieve eggs. It should also be easy to clean and look good in the yard.

Because a family may eventually tire of keeping chickens and want to re-purpose the coop, think ahead.  A well-designed coop could be used in the future for storing items like a lawn mower, yard tools, or firewood.

Be sure to choose plans that are within the ability of a family to make. Advanced or complex coops are ideal for people with strong carpentry skill and equipment but may be overwhelming for novices.

Complex coops may also need special tools that most homeowners don’t have.

This blog is part of a series describing the construction of a small backyard coop by guest blogger Rich Patterson and Bryan Davis of Cedar Rapids, Iowa. The finished coop will be given to the Indian Creek Nature Center in Cedar Rapids, Iowa, which will donate it to someone attending a backyard chicken workshop. The coop plans came from Kevin McElroy and Matthew Wolpe’s book REINVENTING THE CHICKEN COOP. 

Bryan and Rich modified the coop plans somewhat to ease construction and because Iowa winters sometimes bring 20 below zero weather. Almost anyone building a coop may want to alter the plans to suit their needs, so plans can be a general guide for construction.

BUILDING THE COOP

Few families can devote large blocks of time to coop construction and tend to devote a couple of hours whenever they can.

Construction often takes place over a few months so it’s best to build the coop in a space where it can be left, rather than moving it in and out every time construction happens.

If being built inside, be sure the door to the space where the construction happens is large enough to get the coop out!

MATERIALS

Bryan and Rich wanted to build an attractive and sturdy coop while also keeping expenses down.

Some of the coop’s materials were scrounged from businesses and construction sites that no longer needed or wanted the materials.

Most plans come with a materials’ list that includes all the hardware, lumber, and other items needed to complete the project. There are two ways to round it all up.

One is to visit a big box home supply store. They have nearly everything needed but it will be scattered about the store and may take some time to find. The other way is to order the materials from a local lumber yard. Bryan and Rich chose the latter and brought the materials list to the local lumber yard.

Although the materials were slightly more expensive than in a big box store the lumber yard employees gathered it all up, put it on a truck, and delivered it to Rich’s home free.

Be sure lumber is of excellent quality. Inexpensive lumber sometimes is not cured well and twists, making it hard for pieces to fit together well.

TOOLS

The tools Bryan and Rich used to construct the coop in the photos include:

  • Carpenter’s hammer and deadblow hammer
  • Square
  • Crowbar
  • Electric drill and various diameter bits and screw driving bits
  • Table saw and circular saw. Table saws are more precise than hand held circular saws but most simple coops can be constructed using just a circular saw.
  • Hand Saw
  • Carpenter’s level
  • Pencil and chalk line
  • Chisels
  • Rasp
  • Hearing protection muffs and safety glasses

Anyone visiting a tool store is met with a myriad of tools. Thousands of types are on the market at many price points.

Quality tools are delightful to use. They are durable, accurate, and highly effective. Tools are in the midst of a revolution as battery powered cordless drills and saws are replacing corded counterparts.

Always use tools safely. Read the owner’s manual and practice safety.

Wear hearing and eye protection when using power tools.

Working on a project with children is an outstanding way to help them learn the basics of construction, but make sure kids are well grounded in safety.

Encourage children to help by using hand powered tools during coop construction but wait until they are older and strong enough to operate power tools. Excellent instructional videos that help people learn how to safely use tools can be accessed on YouTube.

PLAN AHEAD

It will probably take a few months to decide on a coop plan, purchase materials and tools, and build it. It’s wise to begin the building project several months before chick arrival day!

Privacy Policy | Terms