Bedding in the Coop

When it comes to bedding in the chicken coop, there are lots of options for backyard flock owners to choose from. Nutrena poultry expert Twain Lockhart shares his thoughts on the most common types, and the pros and cons of each.


Helpful tips:

  • Shavings and straw are the two most commonly used types of bedding
  • Do not use sawdust as it can cause respiratory issues
  • Avoid redwood and cedar as some woods carry toxins that can cause respiratory and eye issues
  • Use natural dirt or sand to lay down underneath the bedding
  • Your nose will tell you how often to change the bedding


Managing Nests

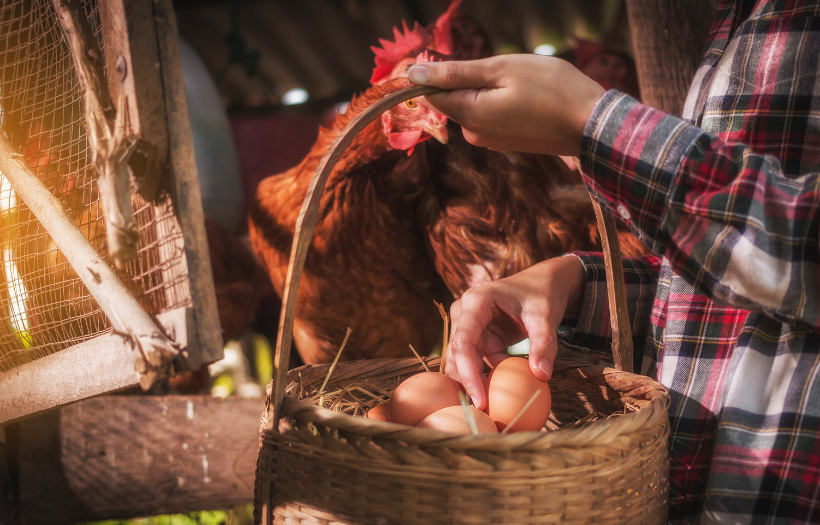
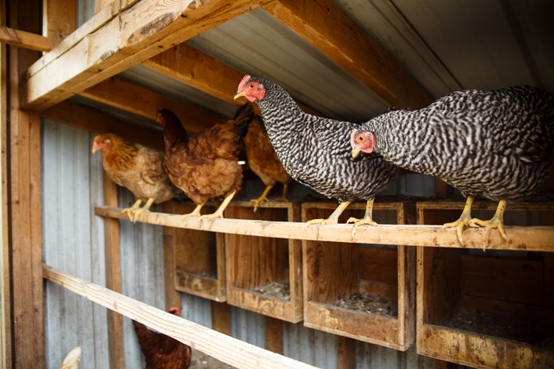
Sometimes chickens simply seem silly. Take egg laying for example. Give a small flock four or five comfy nest boxes and three or four hens will cram into one at the same time while nearby nests remain vacant. That’s a problem. Too many hens laying in one box is a recipe for broken eggs and a mess. Some hens even ignore perfect nests and lay their eggs on the floor where they’re bound to get dirty and are hard to collect.

There’s no perfect solution but careful nest management helps keep eggs clean and collecting easy.

How Many Nests

Most backyard chicken books and websites recommend placing one nest for every five hens. That’s good advice. One nest can accommodate a typical backyard flock of five or six hens. But more are usually needed. Most eggs are laid in the morning, so often several hens will be in the nest box at the same time jostling around while preparing to lay. Often that results in a broken egg or two that soil unbroken eggs. It wastes eggs and adds to the washing chore.  

The obvious solution is to add more nests. Unfortunately, that often fails. Put six nests in a six-hen coop and they’ll continue laying nearly all the eggs in the favored nest. Nearby nests go unused. 

A few tricks to lure some hens into rarely used nests include:

  • Curtains: Chickens prefer a somewhat dark and private place to lay. Adding a curtain to drape down over a nest entrance may entice birds to enter a rarely used nest. Cut a piece of cloth from an old T-shirt or towel and staple it so it covers about the top half of the nest opening.
  • No Vacancy Sign: Covering a popular nest temporarily with a board  is a “no vacancy” signal that forces hens to get in the habit of using other nests. After a week or so remove the board. By then some of the hens may have “adopted” the formerly little used nest. 
  • Bait:  An egg or two in a nest acts like bait that attracts hens. Putting an egg in a rarely used nest may lure some to get into the habit of laying there. Purchased artificial nest eggs work great and never spoil, but golf balls are a cheaper substitute. Real eggs also make great nest bait but should be rotated out daily and replaced with fresh ones so they don’t get old.

Nest Size

Chicken bodies range from tiny Bantams to massive Brahmas and Jersey Giants. Most flock owners typically favor brown egg laying breeds that weigh five to eight pounds. Nests measuring about 12” deep, 12” wide and 8 to 12” high work just fine for these mid-sized birds. Making a nest box is one of the simplest carpentry projects. A five-foot-long 1″ x 12” board cut to one-foot lengths is big enough for a single nest. A 10-foot board will make two nests. Be sure to cut a piece of scrap wood about 4” wide and 12” long and nail it to the bottom of the outside of the nest. It holds the nest bedding in place and keeps eggs from rolling out.

Nest Placement

In addition to cramming into a single nest chickens seem to delight in making egg collecting challenging. They’ll choose to lay in the nest that’s hardest for a person to reach. It might be down close to the floor requiring bending to gather or in the box farthest from the coop door. The solution is simply to not give them the option of laying in an inconvenient place.    

The more often eggs are collected the less time they will be in the nest to get dirty, stale or broken. Convenience makes frequent collection pleasant and likely. Place nest boxes close to the coop door in an easy to reach place. An even better solution is to craft the coop, or buy a manufactured one, that has nests protruding from the exterior wall with a trap door on top. That makes entering the coop unnecessary for collecting eggs. Just lift up the trap door, reach down, and gather.  

Nest Linings

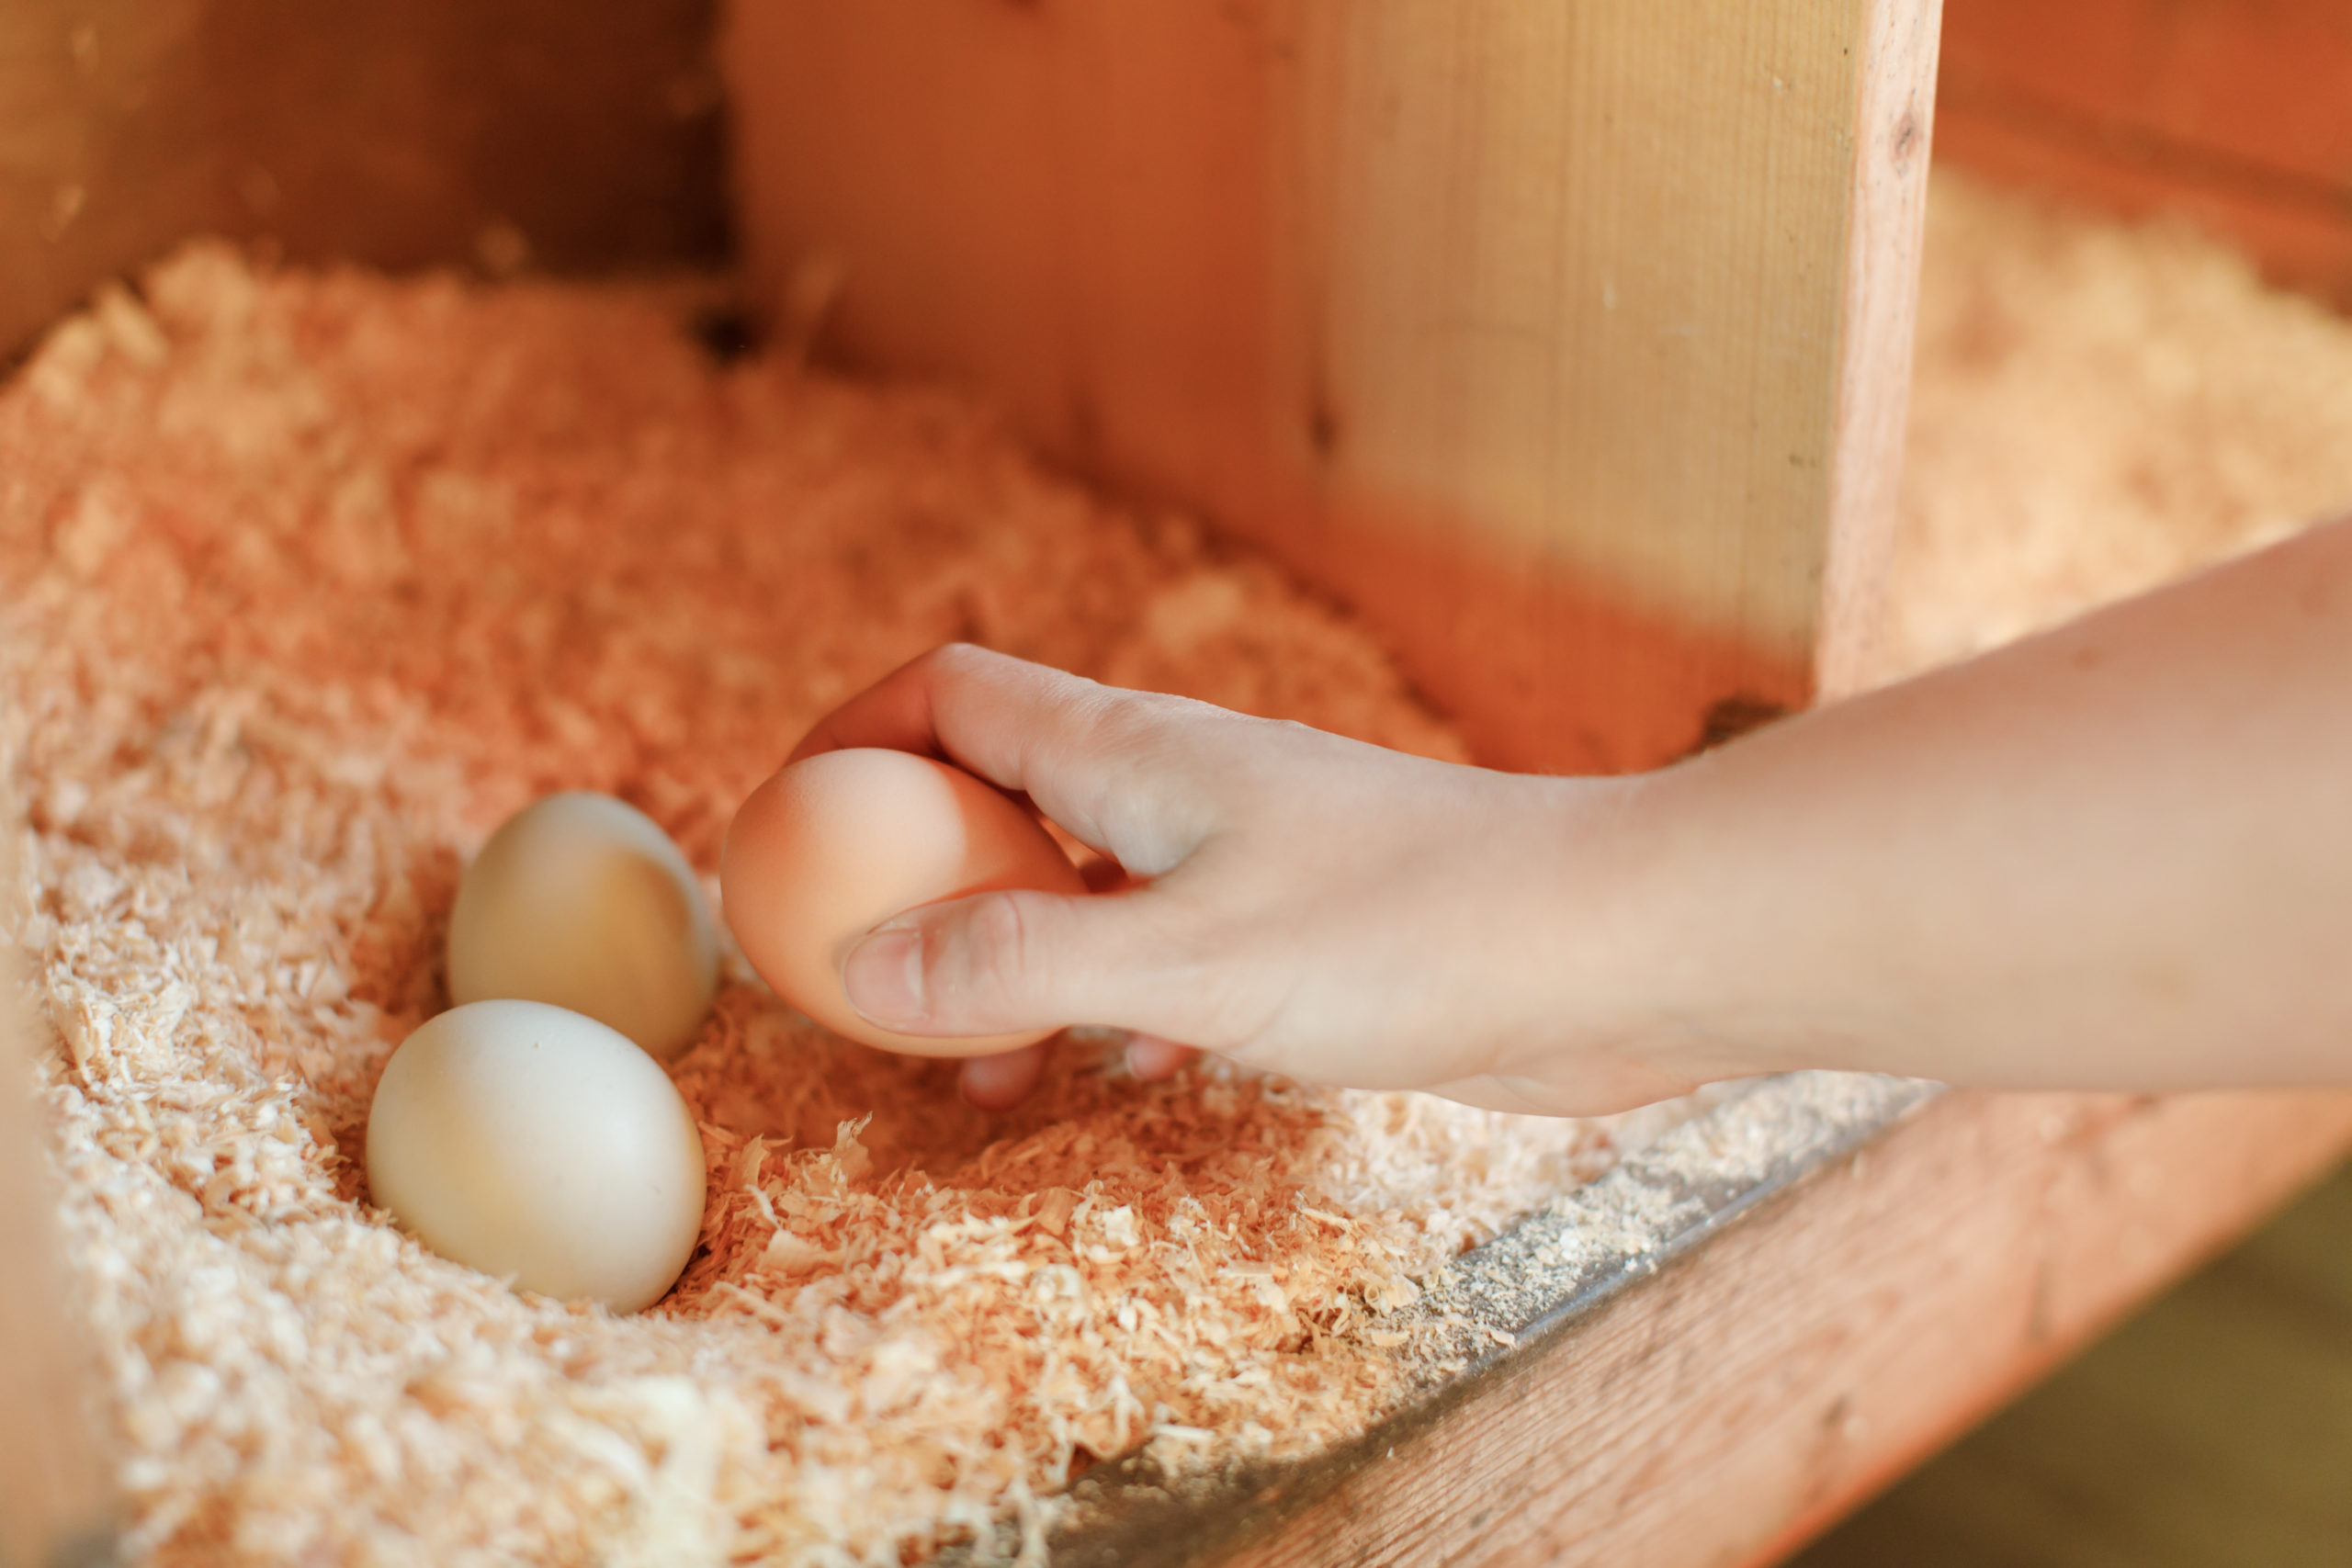
Some hens will pop into a nest and lay an egg in a minute or two. Then she’s back on the floor. For other hens laying is a lengthy process. She’ll sit in the nest a long time.  Every once in a while, she’ll jostle around. If three or four other hens are jammed into the same nest movement is likely to break an egg or two. Soft padding on the nest’s bottom helps prevent broken eggs and makes the laying experience more comfortable for hens. Many items work well to cushion eggs.

Wood shavings:  Sawdust and wood shavings make ideal nest linings, but they have one major problem. Put a couple of inches of fragrant shavings in the nest, and the daily movement of hens will push much of it out. It needs to be replaced often. Larger sized wood shavings tend to stay in place longer than sawdust.

Commercial liners: Several companies sell nest liners, usually made from plastic mats or woven wood fiber. They are ideal. Since each is a single piece that fits snugly in the bottom of the nest hens can’t scratch it out like they do with wood shavings. Plastic ones can be washed occasionally. Soiled wood fiber ones can be composted. 

Plastic door mat: Home stores commonly sell green plastic door mats made to enable someone to rub dirty shoes off before entering the house. They are inexpensive and can be easily cut to nest size with a knife. They cushion eggs, can be easily washed, and hens can’t scratch them out of the nest. 

Straw:  Straw is the classic nest lining that’s been used for thousands of years because it works. Straw fibers tend to somewhat interlock so hens have a hard time scratching them out of the nest. Straw soils and packs down over time, so it needs to be replaced occasionally. Used straw makes great garden mulch. A bale should last a year or more.

Homemade Straw: Folks who mow a lawn can make their own nest lining free. Simply let the grass grow six or seven inches high. Then mow it on a warm, breezy, sunny day.  The mower will spit out clumps of cut grass. Rake them into loose windrows that allow the air to blow through the stalks and dry them. On a low humidity day with a light wind it only takes a few hours for grass to cure. Then rake it up and store it in a metal garbage can or another container with a tight-fitting lid. Line the nest with a couple of inches of the homemade straw.  It’s softness cushions eggs while its sweet smell makes collecting a joy.

Most people keep a few chickens in a backyard coop for the delicious fresh eggs they lay.  Eggs are gems of the coop, and careful placement and management of nest boxes makes it likely that every egg will be clean and easy to gather.

Building a Chicken Coop: If You Build It, They Will Come

Building a chicken coopOne of the most rewarding ways of creating perfect housing for a small flock of backyard chickens is building a chicken coop from scratch.

Anyone with even modest carpentry experience will find coop construction a pleasant and rewarding challenge.

Coops can be purchased readymade or are easily assembled from kits.

DESIGNING OR CHOOSING COOP PLANS

People skilled at planning a project can create their own coop plans, but for most folks working from existing plans makes the project simpler. Dozens of free plans are posted on websites, and many poultry books include chapters on coop building. They usually have plans for a few coop styles.

When designing a chicken coop or choosing an existing plan make sure the finished coop will be large enough to comfortably house the number of hens planned for the backyard.

It should have at least four-square feet of floor space per bird, screening to exclude insects and heavy wiring to repel predators, and easy access to fill feeders and waterers, and retrieve eggs. It should also be easy to clean and look good in the yard.

Because a family may eventually tire of keeping chickens and want to re-purpose the coop, think ahead.  A well-designed coop could be used in the future for storing items like a lawn mower, yard tools, or firewood.

Be sure to choose plans that are within the ability of a family to make. Advanced or complex coops are ideal for people with strong carpentry skill and equipment but may be overwhelming for novices.

Complex coops may also need special tools that most homeowners don’t have.

This blog is part of a series describing the construction of a small backyard coop by guest blogger Rich Patterson and Bryan Davis of Cedar Rapids, Iowa. The finished coop will be given to the Indian Creek Nature Center in Cedar Rapids, Iowa, which will donate it to someone attending a backyard chicken workshop. The coop plans came from Kevin McElroy and Matthew Wolpe’s book REINVENTING THE CHICKEN COOP. 

Bryan and Rich modified the coop plans somewhat to ease construction and because Iowa winters sometimes bring 20 below zero weather. Almost anyone building a coop may want to alter the plans to suit their needs, so plans can be a general guide for construction.

BUILDING THE COOP

Few families can devote large blocks of time to coop construction and tend to devote a couple of hours whenever they can.

Construction often takes place over a few months so it’s best to build the coop in a space where it can be left, rather than moving it in and out every time construction happens.

If being built inside, be sure the door to the space where the construction happens is large enough to get the coop out!

MATERIALS

Bryan and Rich wanted to build an attractive and sturdy coop while also keeping expenses down.

Some of the coop’s materials were scrounged from businesses and construction sites that no longer needed or wanted the materials.

Most plans come with a materials’ list that includes all the hardware, lumber, and other items needed to complete the project. There are two ways to round it all up.

One is to visit a big box home supply store. They have nearly everything needed but it will be scattered about the store and may take some time to find. The other way is to order the materials from a local lumber yard. Bryan and Rich chose the latter and brought the materials list to the local lumber yard.

Although the materials were slightly more expensive than in a big box store the lumber yard employees gathered it all up, put it on a truck, and delivered it to Rich’s home free.

Be sure lumber is of excellent quality. Inexpensive lumber sometimes is not cured well and twists, making it hard for pieces to fit together well.

TOOLS

The tools Bryan and Rich used to construct the coop in the photos include:

  • Carpenter’s hammer and deadblow hammer
  • Square
  • Crowbar
  • Electric drill and various diameter bits and screw driving bits
  • Table saw and circular saw. Table saws are more precise than hand held circular saws but most simple coops can be constructed using just a circular saw.
  • Hand Saw
  • Carpenter’s level
  • Pencil and chalk line
  • Chisels
  • Rasp
  • Hearing protection muffs and safety glasses

Anyone visiting a tool store is met with a myriad of tools. Thousands of types are on the market at many price points.

Quality tools are delightful to use. They are durable, accurate, and highly effective. Tools are in the midst of a revolution as battery powered cordless drills and saws are replacing corded counterparts.

Always use tools safely. Read the owner’s manual and practice safety.

Wear hearing and eye protection when using power tools.

Working on a project with children is an outstanding way to help them learn the basics of construction, but make sure kids are well grounded in safety.

Encourage children to help by using hand powered tools during coop construction but wait until they are older and strong enough to operate power tools. Excellent instructional videos that help people learn how to safely use tools can be accessed on YouTube.

PLAN AHEAD

It will probably take a few months to decide on a coop plan, purchase materials and tools, and build it. It’s wise to begin the building project several months before chick arrival day!

How to Winterize Your Coop

If you live in the north like me, the nights are getting chilly, the leaves are changing and there has even been some frost on the pumpkins in the mornings. All this means…winter is coming! Whether we want it to or not, it will soon be upon us. So instead of scrambling with frozen fingers when it’s really cold and snowy, prepare your coop now for a healthy flock through winter.

Check the health of your birds. Any health issues will be exacerbated by the cold weather. Treat any ailments, keep waterers and feeders topped off so their immune systems are at their peak.

Things to do:

Clean and disinfect feeders, waterers and perches

  • Healthy birds require a clean environment. Wash away any microorganisms that have grown happy in the warm weather.
  • Perches and laying boxes are often forgotten during cleaning. Birds spend a lot of time in these places and bacteria are plentiful! Don’t forget these spots.

Muck out and deep-bed your coop

  • Remove the bedding you use in your coop and replace with a thick layer of pine shavings, sawdust or straw.
  • Pile the bedding up against the walls or leave a few bales of straw in your coop so if you need to remove some bedding during the winter during cleaning, you don’t have to haul fresh bedding in.
  • Piles of straw provide a warm place for chickens to cuddle through the coldest weather.
  • Don’t forget to place straw or other bedding in the nesting boxes. Soft, dried grass makes a great (free!) nest that protects eggs from cracking.

Feed and supplement your birds correctly

  • Chickens need a source of calcium all year, so don’t neglect providing oyster shells in winter.
  • To stimulate the scratching instinct and keep birds entertained, provide scratch grains periodically.
  • To beat boredom, consider adding a Scratch Block to the coop for a healthy distraction!

Check for drafts

  • Drafts can cause respiratory problems and sickness in your flock.
  • Check for drafts where your chickens roost and spend most of their time when in the coop.
  • Make any repairs to your chickens’ house while the weather is still fair.

Set up any heat lamps and water heaters

  • Develop a plan so your chickens have access to fresh, unfrozen water 24 hours a day.
  • Frozen water isn’t any fun. Set up your heating devices early so you’re prepared and safe.
  • If you use a heat lamp, make sure you have a spare bulb on hand.

Hopefully this got you thinking and adding to your winter-prep to-do list. I know I have a big list for my husband and I to work on in the coming weeks!

The right nutrition at the right time for layers

Timing is everything when it comes to feeding your laying hens. Ensuring they have the correct nutrition at just the right time is an important part of having a happy and healthy flock.

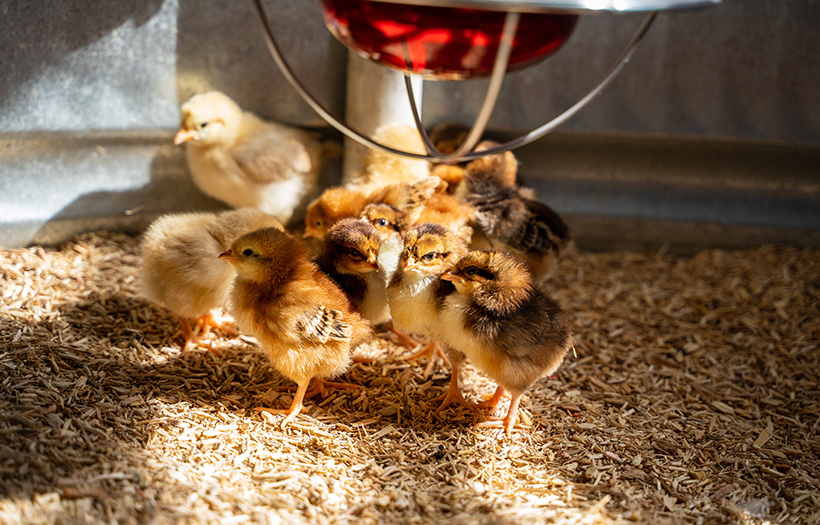
Hatch to approximately week 6: Provide free choice access to a quality chick starter ration and make fresh clean water available at all times. Proper nutrition in this critical growth stage will impact the performance of the chicken for their entire lifespan. Use a heat lamp to keep birds warm and provide 1 sq. foot per chick.

Approximately 6 weeks to 16 weeks: Continue to provide free choice access to chick starter and water. If you choose to feed treats (scratch grains, kitchen scraps, etc.), put out what birds will consume in about 15 minutes once per day. This a good guide to follow to make sure treats don’t exceed 15% of the total diet. Add treats only after week 6. If birds have access to anything other than a crumble or pellet, provide grit free choice in a seperate feeder.

16 weeks +: Now is the time to switch to layer feed! Provide layer pellets or layer crumbles and grit free choice along with access to fresh clean water at all times. Treats can be provided at no more than 15% of the diet. At this point it is also important to make oyster shell available free choice to provide supplemental calcium for hard-shelled eggs. Adult birds require approximately 3-4 sq. feet of space per bird in the coop; you also need to plan on one nesting box for every 4-5 hens.

Proper Bedding for Chickens

The most common myth about chickens is that they stink. They certainly do when they are crammed into buildings lacking fresh air or when their bedding gets wet – but for a backyard flock just a few simple tips can help minimize odors in your chicken coop.

A key to keeping chickens healthy and odor free is the proper use of coop bedding, or litter as it’s usually called. There are many types of litter but to function well all must be able to absorb some moisture, insulate the floor from cold, and give chickens a chance to dust.

Many farmers have animals and birds, such as chickens, on their farm. Also, many of these farmers like to spend their free time at the casino as a distraction or just to have a good time. There are also many https://gamblizard.ca/deposit-bonuses/deposit-1/ casino players who would like to raise chickens. But to do so, they need to learn how to do it properly, as it is a big responsibility. Casino players are learning how to breed and properly care for chickens so they can have fresh, organic eggs. Breeders have been using these techniques for years to create the best-quality poultry. Chickens need a lot of space, good food, and clean water. They should also use the correct bedding for the chicks. Casino players who are looking to get into raising chickens may be interested in learning how to properly take care of them. Chickens can be a great way to learn about agriculture and animal husbandry, and they can provide a valuable food source for the homeowner.

Unlike mammals, chickens don’t produce urine. All excrement leaves their bodies as solid feces, which helps keep litter dry.

By far the most commonly used litter is wood shavings, sold in feed stores, or scrounged from woodworkers. Wood shavings have a pleasant smell, are amazingly absorbent, and don’t pack down. Sawdust also works well but is dusty. Chickens stir it up and dust settles on anything in the coop. Straw is another common bedding. It’s inexpensive but not nearly as absorbent as wood chips. Straw mats down and is harder to shovel out than chips. Dry leaves can be used to make effective litter. They’re free but only available in the fall and tend to break down into dust rather quickly.

Litter must stay dry to remain odor free. Four to six inches of dry wood shavings easily last six months or more before it needs to be changed. Droppings become incorporated into the shavings, as the chickens stir it. About every six months you can scoop the old litter out of the coop with a shovel (a snow shovel works well) and replace it with fresh chips. Used bedding can be either composted or a thin layer can be worked into garden soil to provide nutrients and water absorbency.

When litter gets wet, usually when a waterer leaks or tips over, it’s essential to immediately remove the soggy shavings and replace them with fresh dry ones. Otherwise, they will soon smell.

Chickens love to dust themselves and will readily fluff litter into their feathers. Following a brief dust bath the birds are as fresh as a human emerging from a shower, and as the dust works between their feathers it discourages parasites.

Privacy Policy | Terms